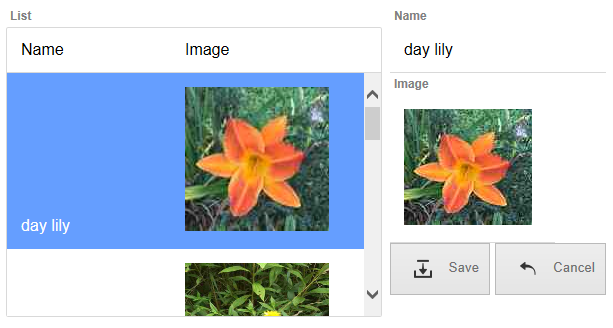
Editor-Camera
Description
Inserts an 'Editor' for capturing an image using the Camera. IMPORTANT: This control MUST be inserted inside an Editor-Set control.
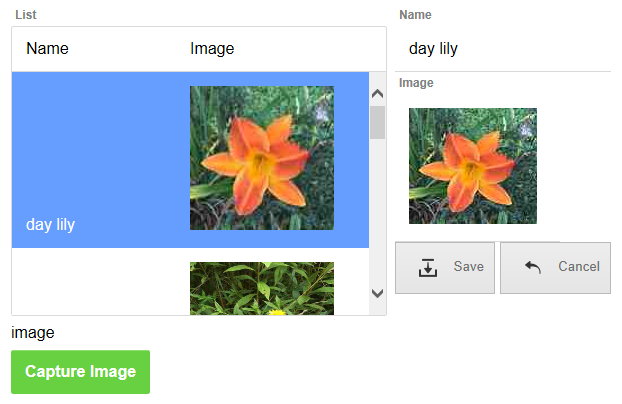
Editors are frequently used to update information in a Form control, which displays information using HTML. As with other editor controls, once one image capture device is defined it can be used in multiple areas of the form view to add images to fields without having to create a new Editor-Camera control. Images can be 'captured' from a camera or 'captured' by navigating to the file that contains the image.
Create an Editor-Camera that Updates Images.
In the UX Builder's UX Controls page open the 'Data Controls' menu. Select the [List] option to add a list control to the component.
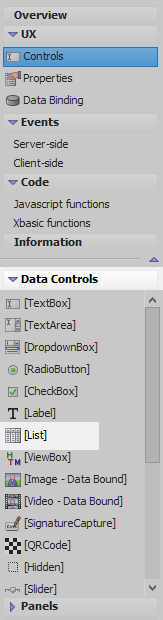
Highlight the List control in the controls tree. In the properties list on the right click the [...] button next to the 'List properties' property in the List Properties section. The List Builder will open.
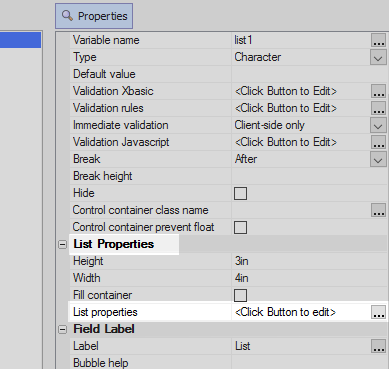
On the List Builder's 'Data Source' pane set the 'Data Source Type' to 'Static'.
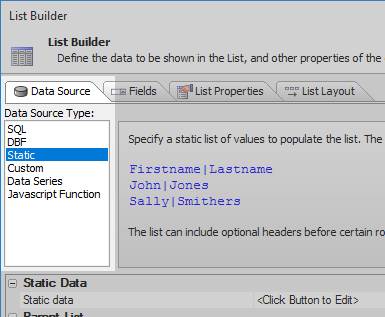
Click the [...] button next to the 'Static data' property on the Data Source pane.

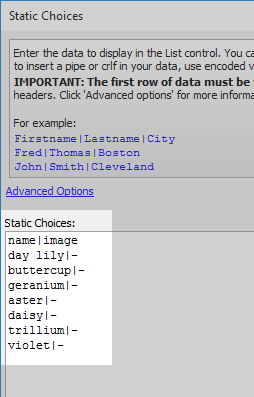
Add some static data to the 'Static Choices' definition. Use the following or create a similar list of choices for images on your device. Click OK.
name|image
day lily|-
buttercup|-
geranium|-
aster|-
daisy|-
trillium|-
violet|-
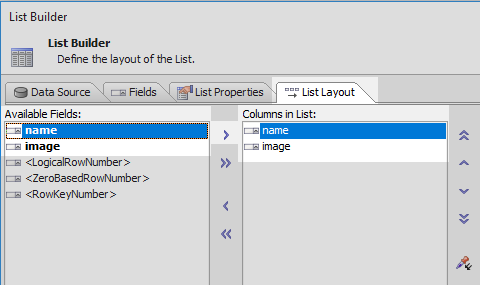
Open the 'List Layout' pane. Use the blue > arrow to move the 'name' and 'image' fields from the 'Available Fields' list into the 'Columns in List' section.
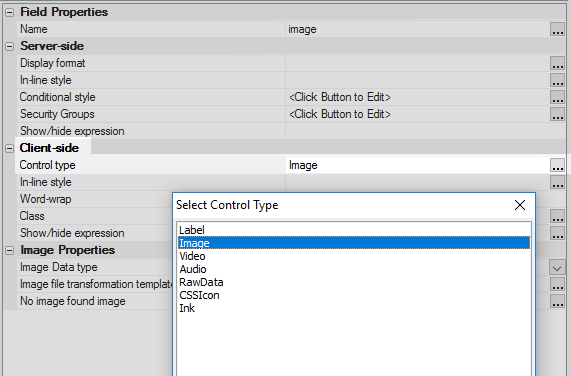
Open the 'Fields' pane and highlight the 'image' field.
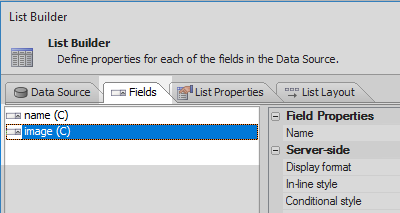
In the properties list on the right click the [...] button next to the 'Control type' property in the 'Client-side' section. Select the 'Image' option.
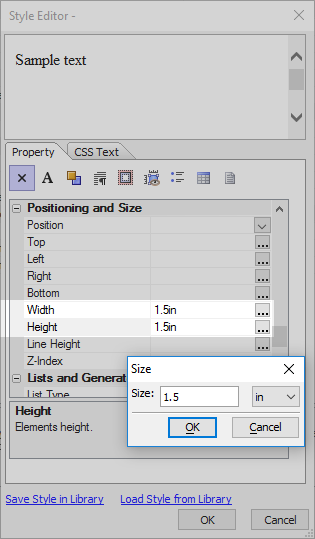
Click the [...] button next to the 'In-line style' property in the 'Client-side' section.

In the Style Editor set the 'Width' and 'Height' properties in the Positioning and Size section to be 1.5in and click OK.
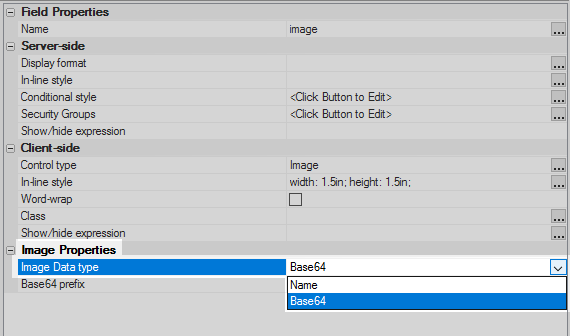
Click on the 'Image Data type' dropdown list in the Image Properties section. Select the 'Base64' option. Click OK To Close the List Builder.
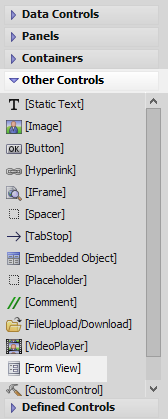
On the Controls page open the 'Other Controls' menu. Select the [Form View] option to add a form view control to the component.
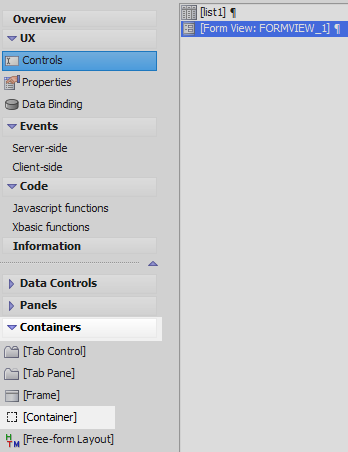
Open the 'Containers' menu and click on the [Container] option.
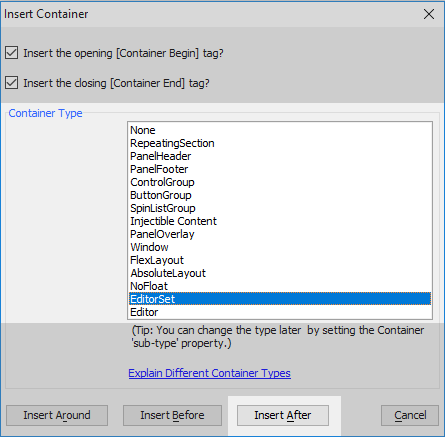
Select the 'EditorSet' option from the 'Control Type' list and click 'Insert After'.
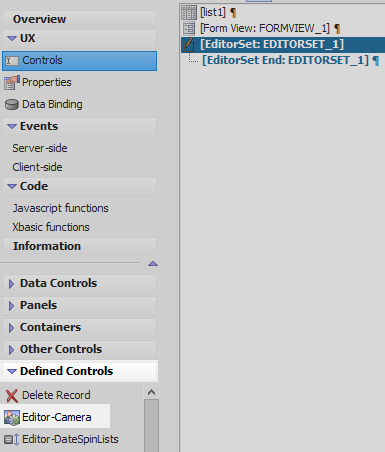
Highlight the EditorSet control. Open the Defined Controls menu, select the Editor-Camera option, and click OK.
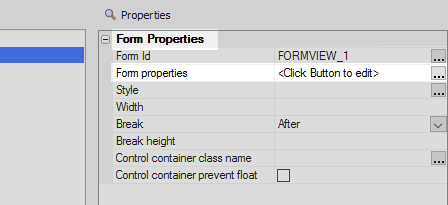
Highlight the Form View control. In the control's properties list on the right click on the [...] button next to the 'Form properties' property to open the Form View Builder.
On the 'Data Source' pane set the 'Datasource type' property to be 'List'
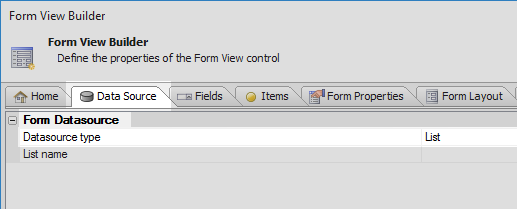
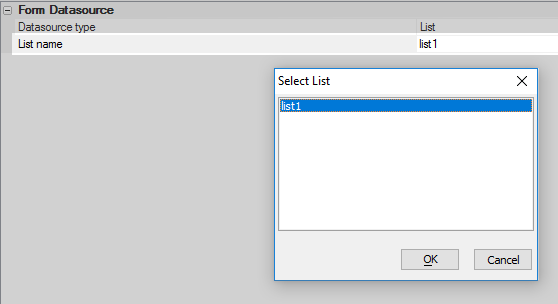
Click the [...] button next to the 'List name' property and select list1.
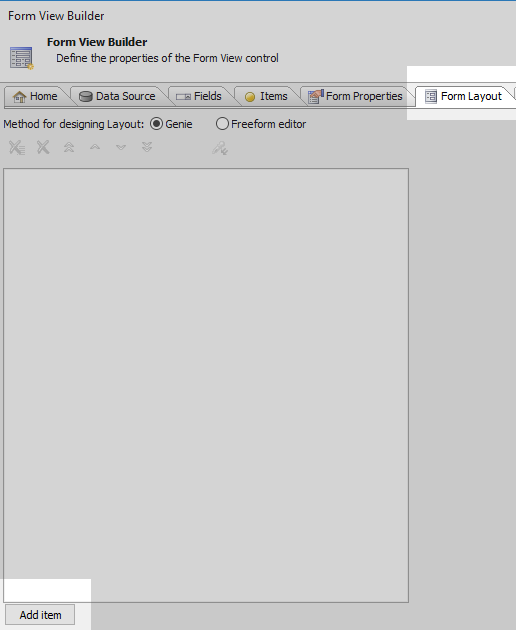
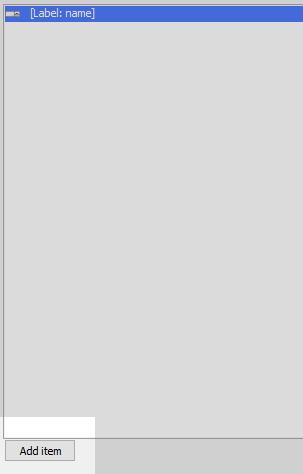
Open the 'Form Layout' pane. Click the 'Add item' button.
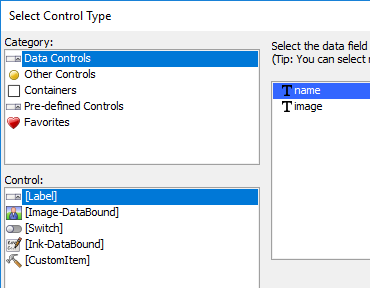
On the 'Select Control Type' dialog select the 'Data Controls' option in the 'Category' list. Select the [Label] option in the 'Control' list. Highlight the 'name' field in the list on the right and click OK.
Click the 'Add item' button again.
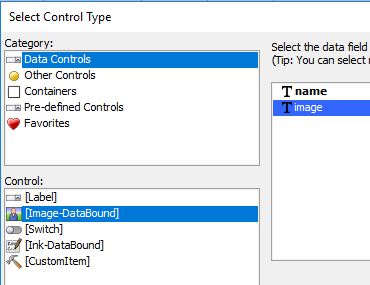
In the 'Category' list select the 'Data Controls' option. This time in the 'Control list select the [Image-Databound] option. In the list on the right highlight the 'image' field and click OK.
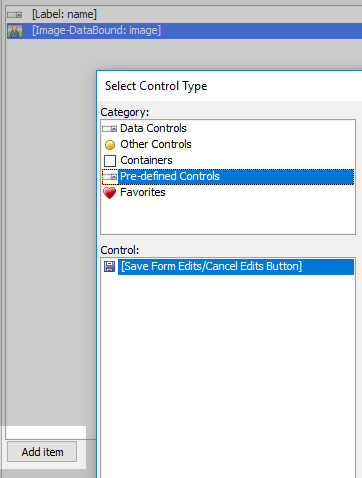
Click the 'Add item' button again. In the 'Category' list select the 'Pre-defined Controls' option. In the 'Control' list select the [Save Form Edits/Cancel Edits Button] and click OK.
Open the 'Fields' pane and highlight the 'image' field.
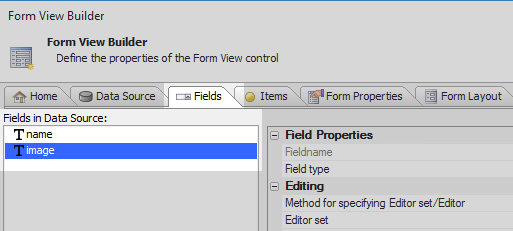
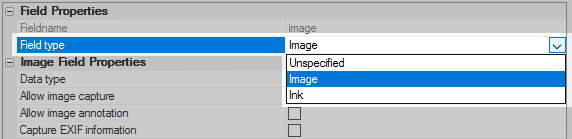
In the properties list under the 'Field Properties' section click the drop-down list next to the 'Field type' property and select 'Image'.
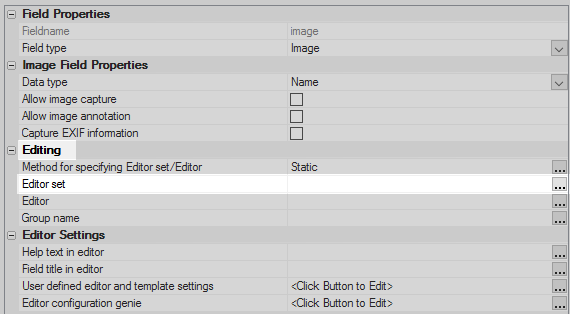
In the properties list on the right click the [...] button next to the 'Editor set' property in the 'Editing' section.
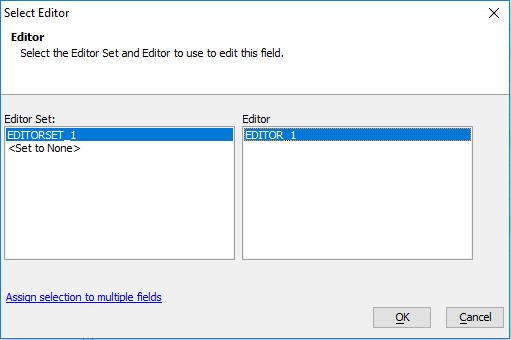
In the 'Select Editor' dialog set the 'Editor Set' to be 'EDITORSET_1' ane the 'Editor' to be 'EDITOR_1'. Click OK.
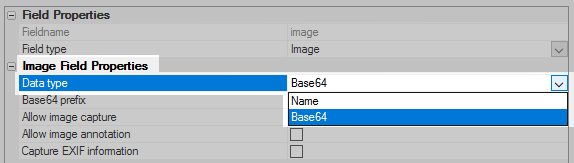
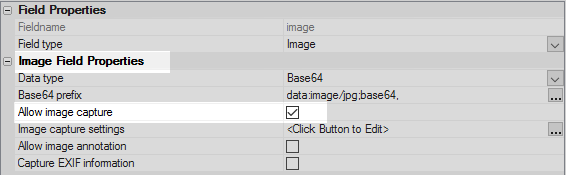
In the 'Image Field Properties' section click the dropdown next to the 'Data type' property and select 'Base 64'.
Check the 'Allow image capture' property checkbox.
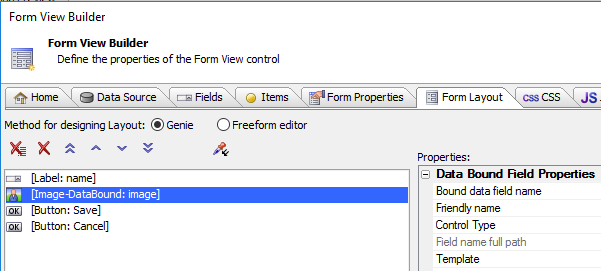
Open the 'Form Layout' pane a second time and highlight the [Image-DataBound: image] item.
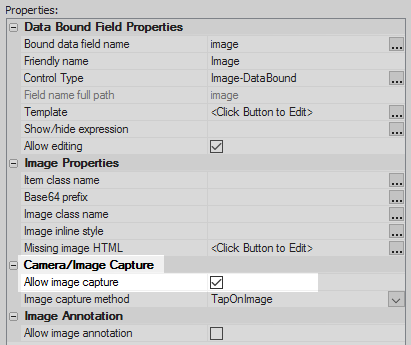
Check the 'Allow image capture' property checkbox in the 'Camera/Image Capture' section.
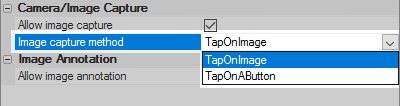
In the properties list set the 'Image capture method' property to 'TapOnImage'. This property should be under the 'Camera/Image Capture' section.
Click OK to close the 'Form View Builder'. Run the component in 'Live Preview'.
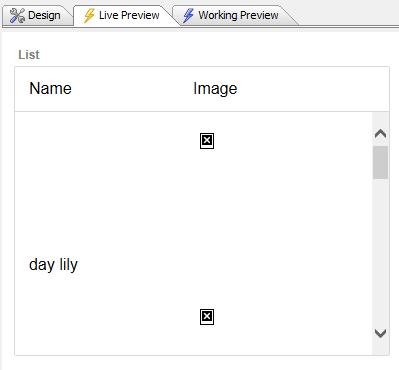
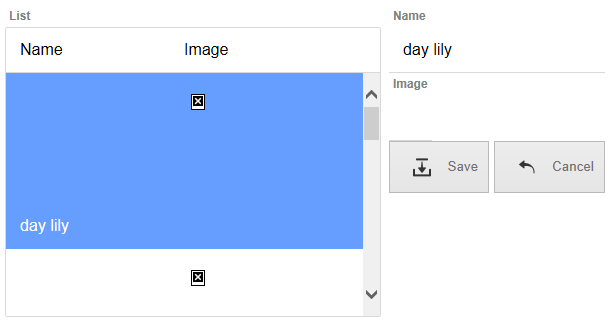
Highlight a row in the list control. You should see the Form View appear.
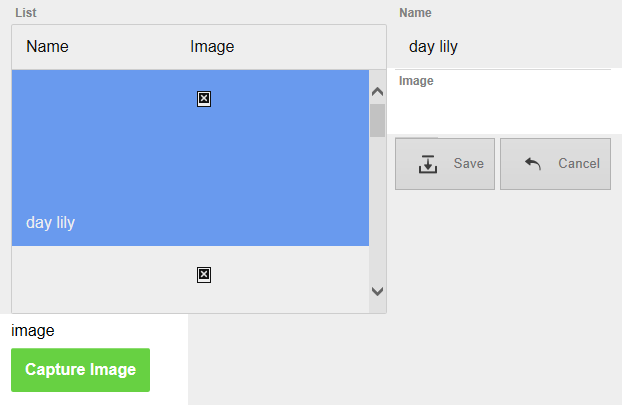
Click on the blank 'image' item in the Form View. The Editor-camera should appear.
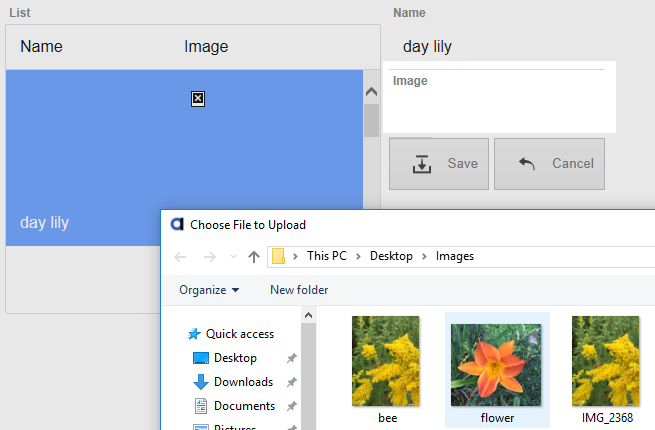
Navigate to a file that uses an image you want to insert, highlight the image, and click Open.
Click the Form View's 'Save' button to add the image to the list control.